
Most budgeting apps start by asking you to connect your bank. For a lot of people that is where they stop: they do not want to hand over a login, their bank is not supported, or the connection keeps breaking and asking them to sign in again. The good news is that you do not need a live connection to know where your money goes. Your bank already writes it all down for you, once a month, in your statement.
What you need
- A statement for each account you use: current account, savings, credit card, and any app like Wise or Revolut.
- Somewhere to put the numbers: a spreadsheet, a notebook, or a tracker that reads statements.
- About fifteen minutes a month.
Almost every bank lets you download a statement from its website or app, usually from the account page or a section called Statements or Documents. Most offer a PDF. Many also offer CSV, which is a plain table of transactions that a spreadsheet can open directly. Our guide on how to download a bank statement shows where Chase, Monzo and Wise keep them and which file to pick.
Step 1: Pick a regular day
Choose one day a month, ideally a few days after your statements are issued. Doing it on the same day each month matters more than doing it perfectly. A month you skip is a month you cannot compare.
Step 2: Download every statement for the month
Get one for each account, including credit cards. Card spending is often the largest part of the picture, and leaving it out makes your month look better than it was.
Step 3: Sort each line into a category
Keep the list of categories short. Ten or twelve is plenty: housing, groceries, eating out, transport, bills and utilities, subscriptions, shopping, health, travel, and everything else. You can always split a category later. Too many categories on day one is the most common reason people give up.
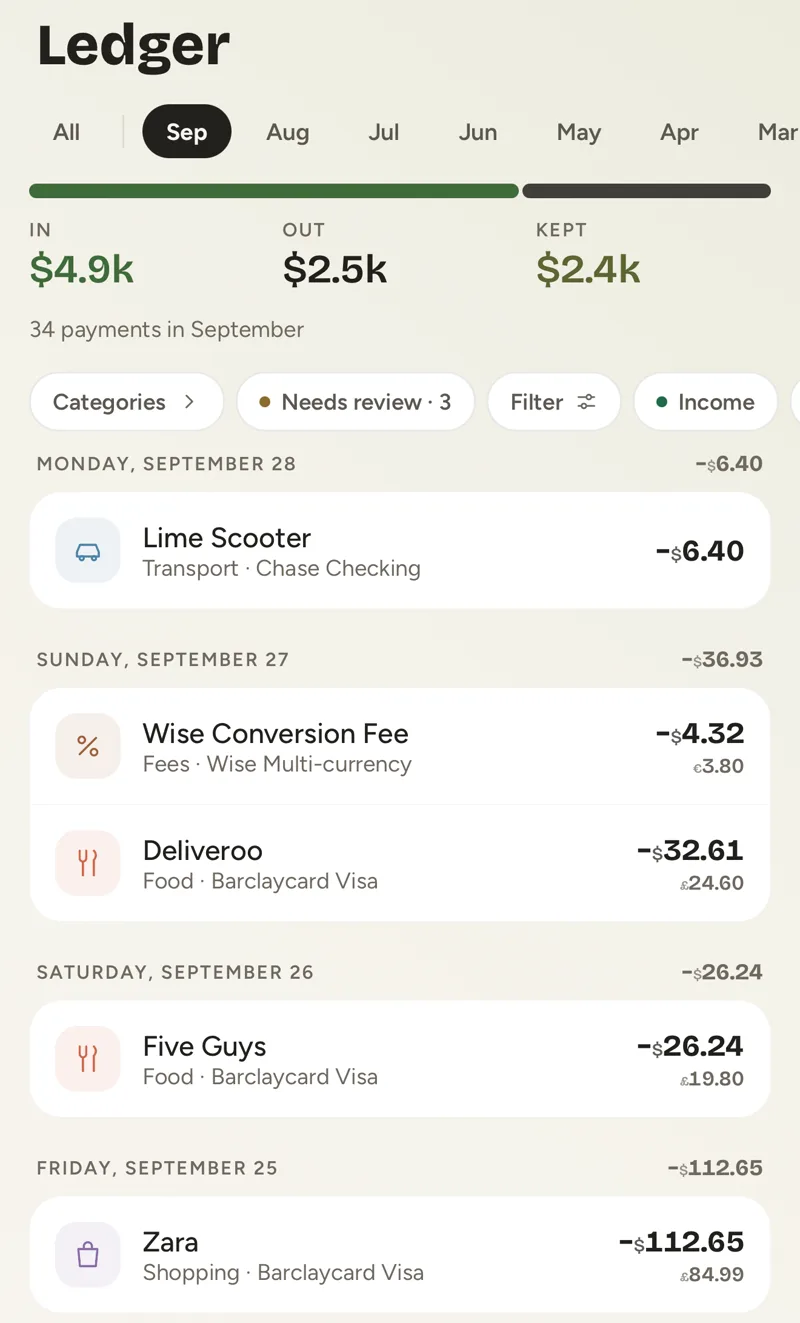
Step 4: Add up In, Out, Kept
For the month, write down three numbers:
- In: everything you received, such as salary, client payments and refunds.
- Out: everything you spent, by category.
- Kept: In minus Out. This is what the month actually left you with.
Kept is the number to watch. A month with a high income and a low Kept tells you more than either number alone.
Step 5: Compare with last month
One month on its own is just a snapshot. Two or three months side by side show you the pattern: which categories creep up, which bills arrived that you forgot about, and what a normal month really costs. That is the point where tracking starts to change decisions.
Doing it with Fimerse
Fimerse is built around this exact routine. On Plus, you upload the statement (PDF, a photo, CSV or text, from any bank in any country) and it lists every transaction, puts each one in a category, and asks you about anything it is not sure of instead of guessing. The file itself is deleted once it has been read. On the free plan you can do the same by hand: add your accounts, including cash, and type payments in. Either way you see In, Out, Kept for every month without linking your bank. If you later want transactions to arrive by themselves, Plus can also connect a bank, read-only, and Fimerse still never sees your bank password.
Questions people ask
Is this less accurate than a bank-linked app?
No. A statement is the bank's own record, so it is the most complete version of your transactions there is. The only difference is timing: you see the month when the statement arrives, not as each payment happens.
What if my bank only gives PDFs?
That is fine. A PDF can be read into a tracker, or you can copy the lines into a spreadsheet. A photo of a paper statement works too if that is all you have.